This month has been BIG for me. After a break of around 15 years I decided to start cardmaking again. Almost immediately, I joined the design team at A Perfect Time to Craft AND started my first blog post!!!!
After such a long time out of cardmaking, (I have been creating other types of items though), I thought I would start with creating a SIMPLE Z-FOLD CARD.
This card was created for the April 2022 Challenge and is sponsored by The Hungry Jpeg. I used the illustration, pattern and texture from Woodland Musicians.
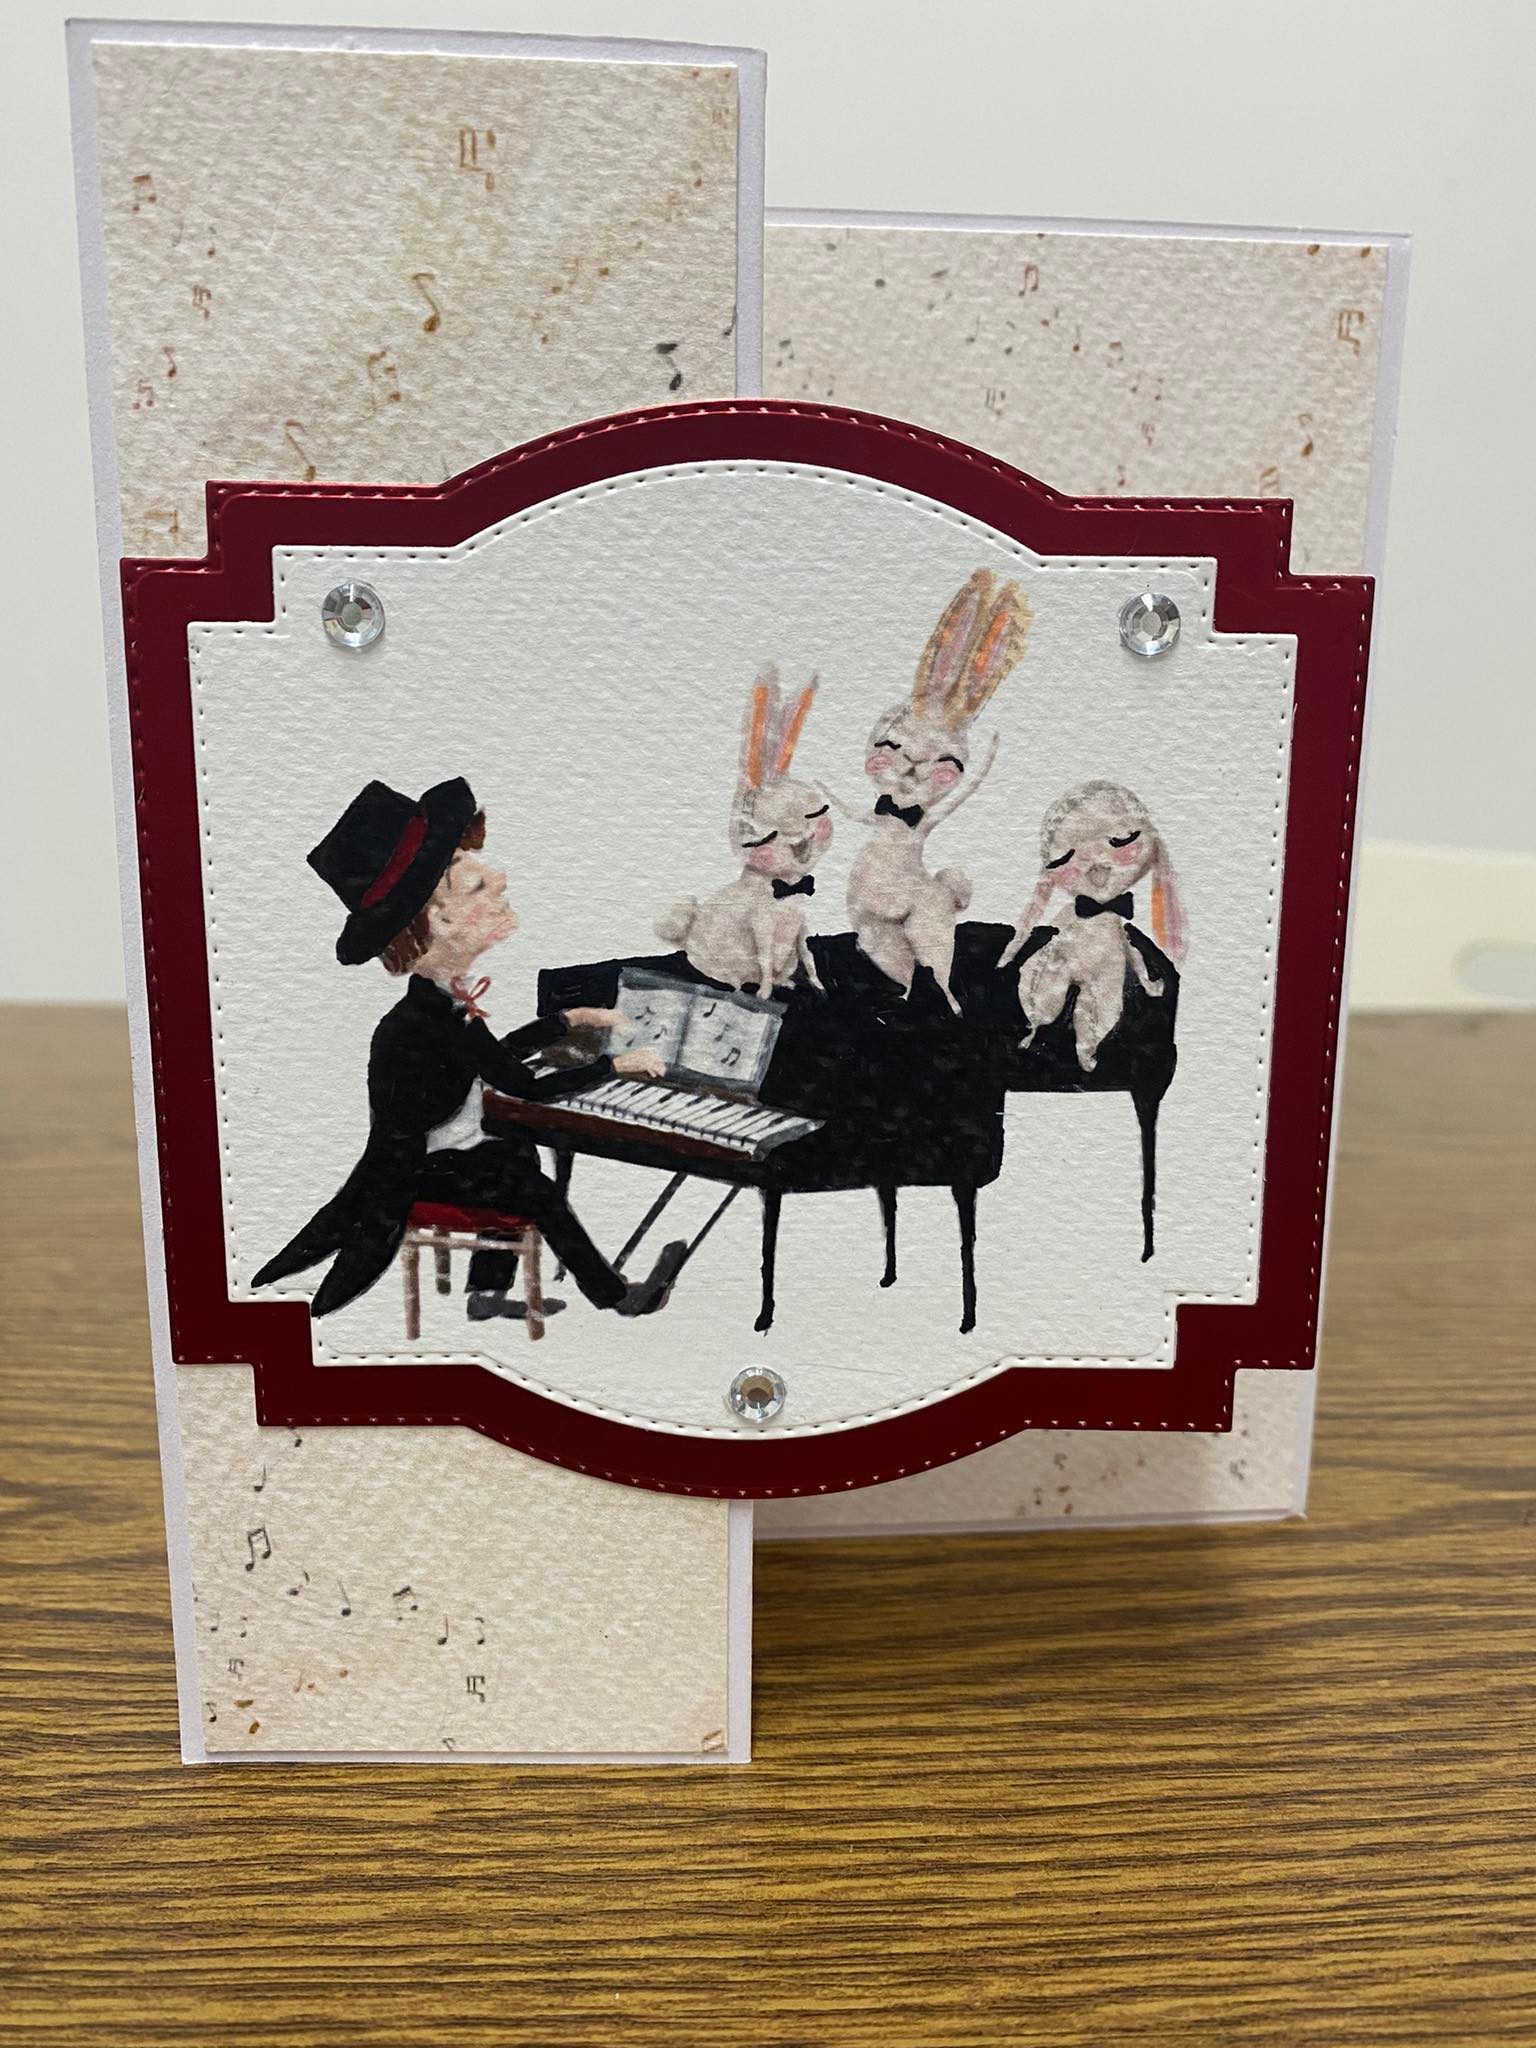
Here is the finished card.


This is how I made the card:
I printed off the illustration and the texture that I needed.
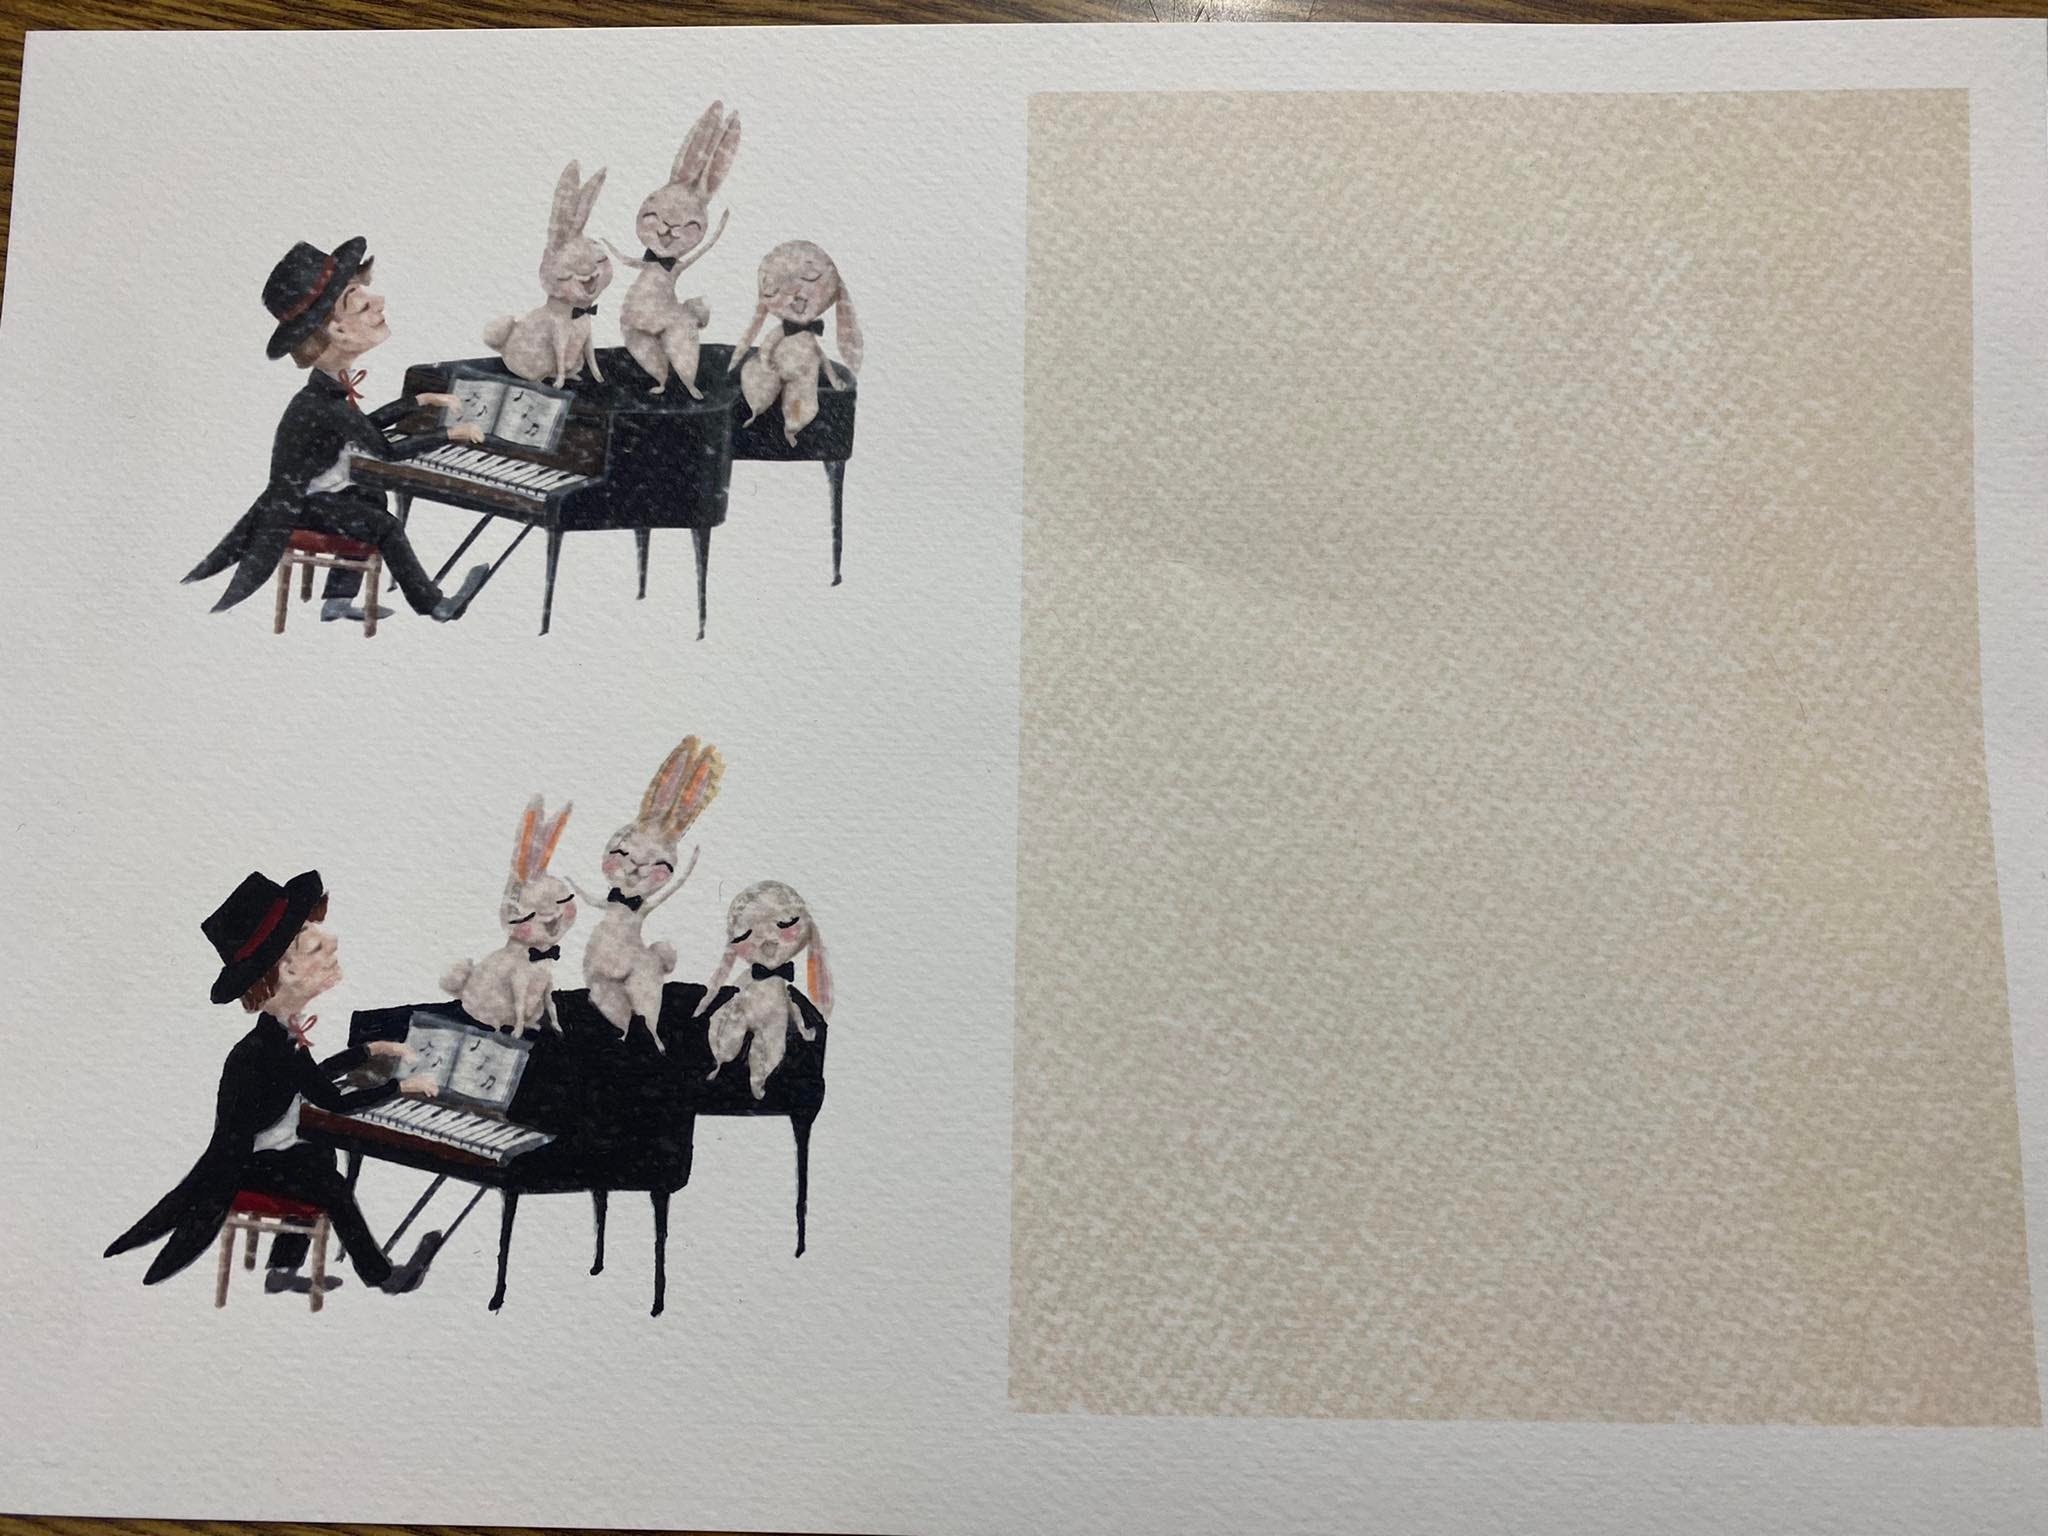
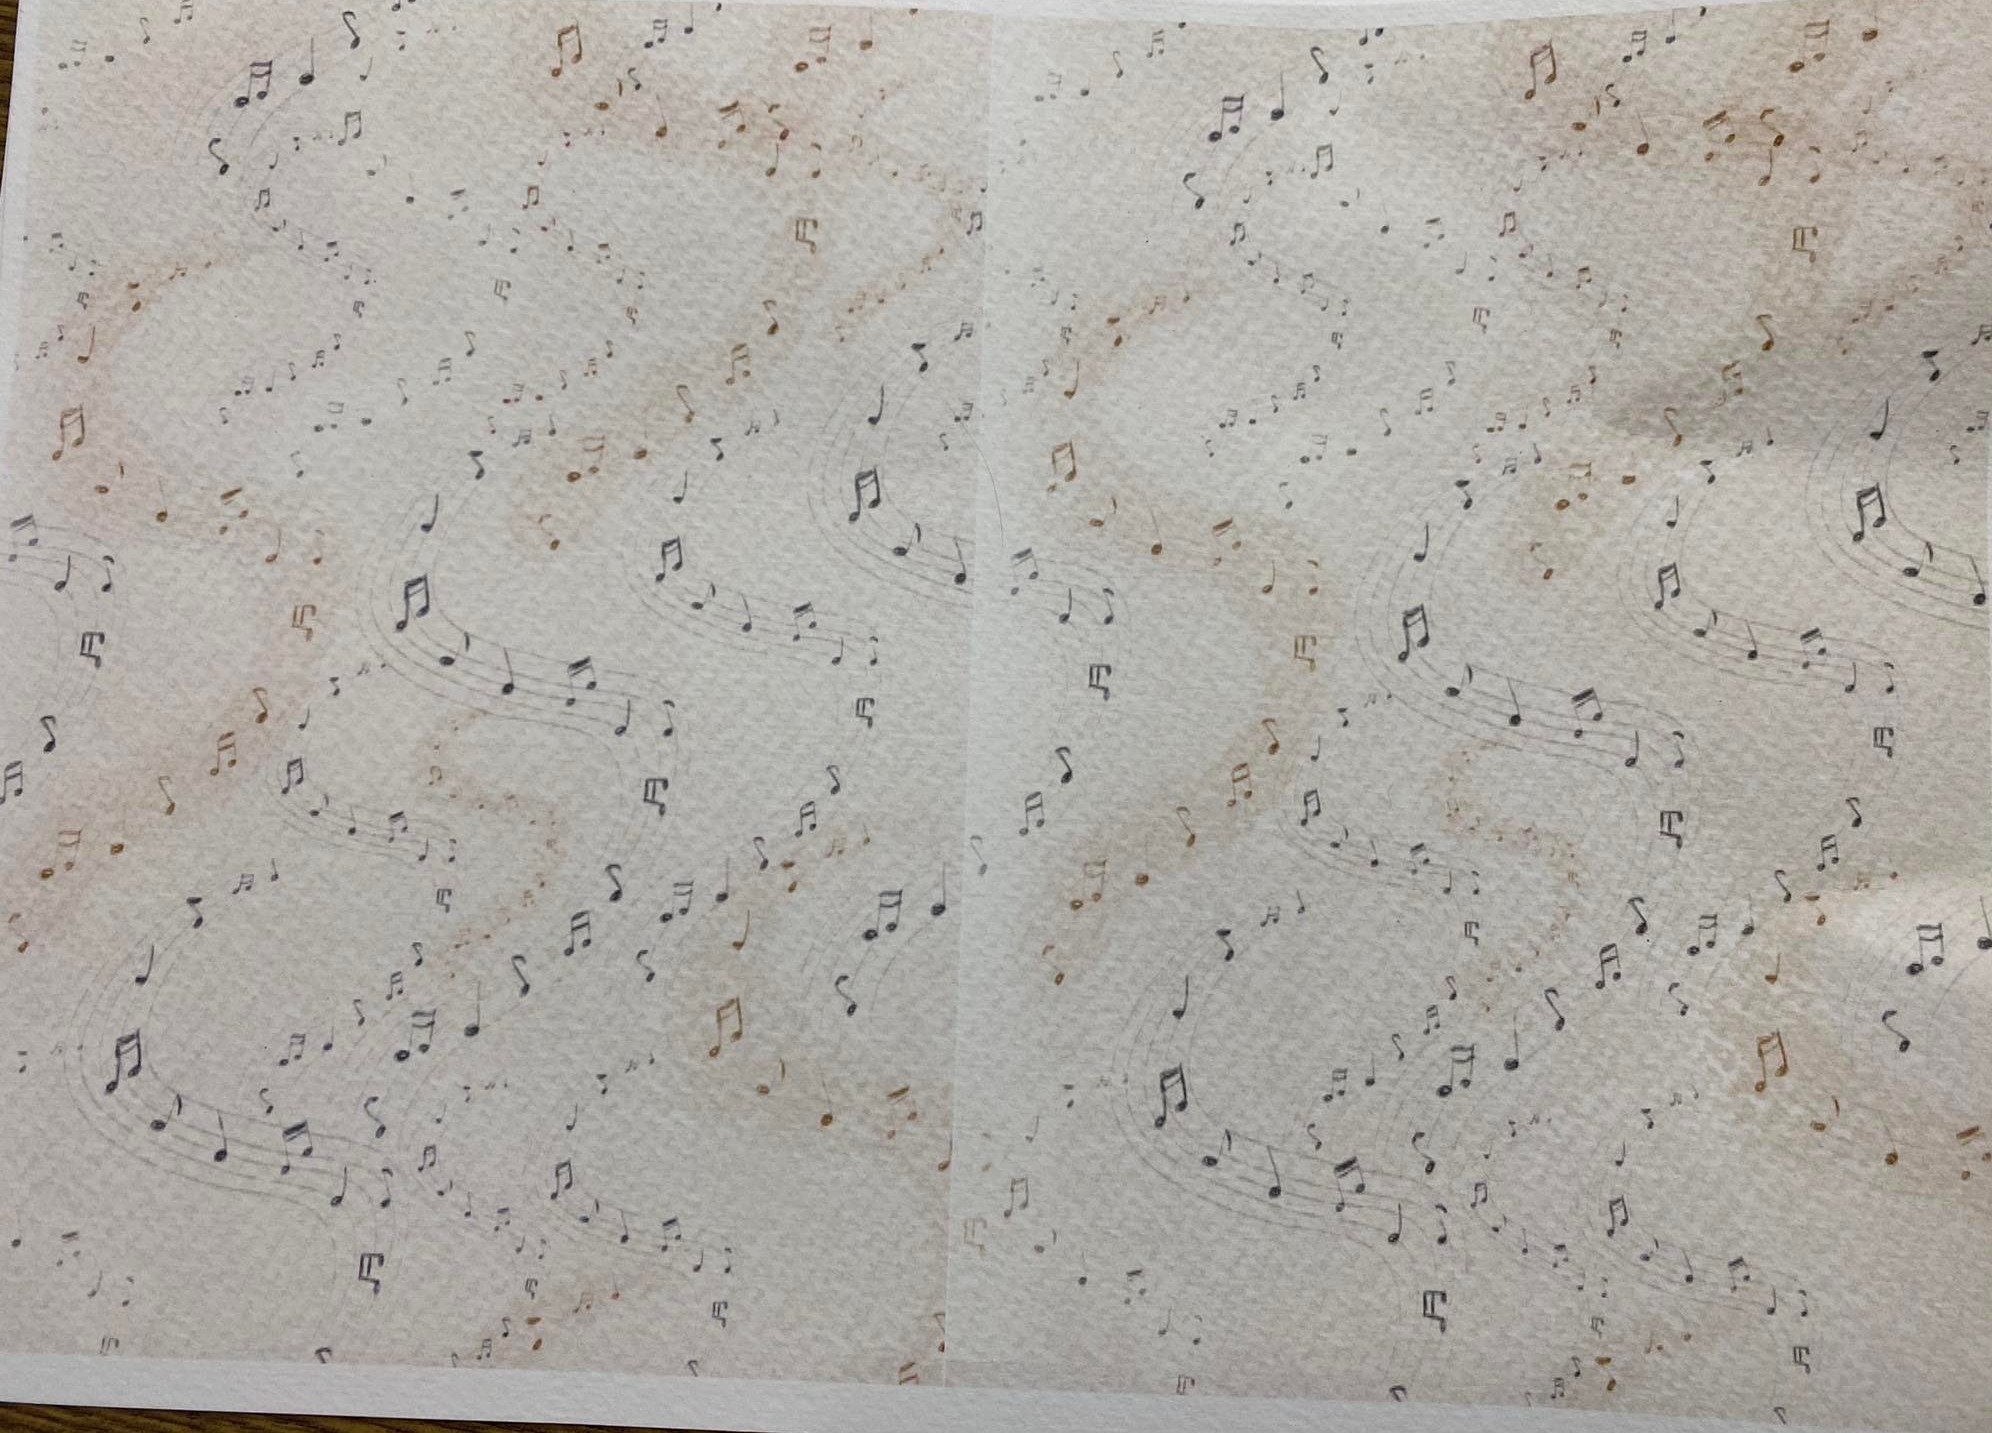
I also printed the background I planned to use - this is just so cute - look at those teeny musical notes!!
The next step was to cut out the picture I was using - I decided to use a shaped die to make this easier, and put it through my cutting machine. You can do this by hand if you prefer.
I also cut out a slightly larger piece to go behind the main picture, and used craft glue to stick them together carefully.

I then took a 7 inch by 5 inch card that I already had made up. If you don't have one ready, cute a piece of card to 10 inch by 7 inch, then fold this in half to give you the right size piece.
Next, I folded JUST The front cover in half like this.

I trimmed the background pieces to fit the cards.
We need 2 pieces of 3 notches under 2,5 inch by 3 notches under 7 inches to give us a small border around the edges. We also need 1 piece that is 3 notches under 5 inch and 3 notches under 7 inches. (The two pieces are actually the same size - it is just the angle of the picture).

These backgrounds were then stuck onto the main card using craft glue.

After this I chose a stamp that I was going to use in the inside. Of course, you should choose your own here, or even leave this blank.
I took some cream coloured card and stamped my insert greeting onto it, before using the same size die to cut this out.

The next step is to add the main picture onto the front. To create this effect though we only add glue to the LEFT side of the picture only - otherwise the card will not open properly.
I carefully stuck the insert greeting inside the card using the main picture on the front as a guide as I wanted it to be hidden UNDER the picture when the card was closed..

The final part of this card was to add a few clear gemstones on the front. I heard somewhere that we should add these as an ODD number as it was more random and looked better - I totally agree!
Let me know what you think?
Is there a particular card type you would like me to have a go at?
Or a theme you think I should try?
Please leave your comments below.


